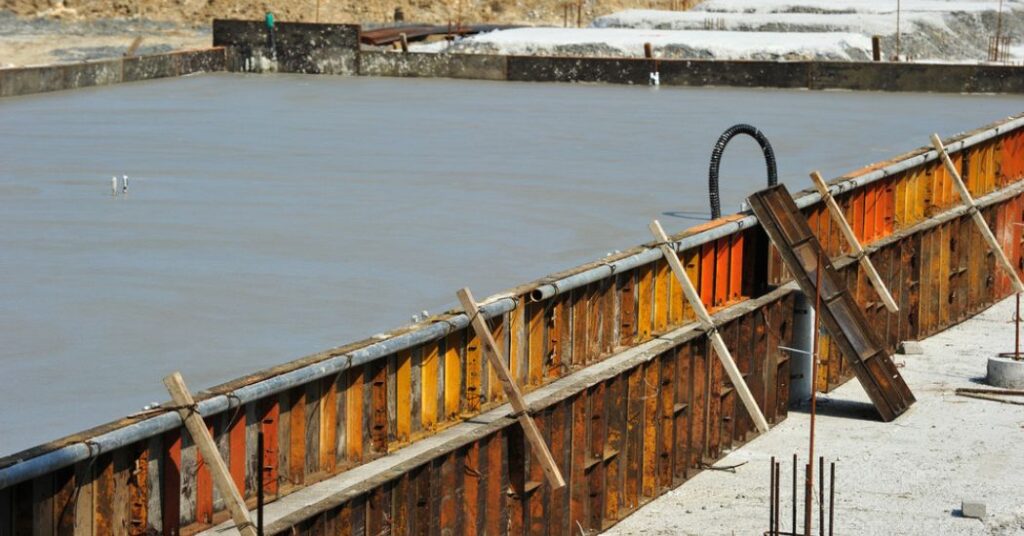
We know the secret to strong, durable concrete is proper curing. You see, concrete isn’t just “set it and forget it.” It needs TLC if you want it to last. So let’s dive in and learn all about concrete curing!
What is Concrete Curing?
Think about when you bake a cake. You mix the batter, put it in the oven, then let it cool. Well, concrete curing is a bit like that. It’s giving freshly poured concrete the time and conditions it needs to gain strength.
You might wonder, “Isn’t concrete hard once it’s dry?” Nope! Just because concrete looks solid doesn’t mean the curing process is done. Concrete curing actually requires the RIGHT AMOUNT of moisture over time. More on that in a bit!
Why is Concrete Curing Important?
We can’t stress this enough – proper curing is ESSENTIAL if you want your concrete to perform at its best. Here’s why:

Strength and Durability
Want concrete that can handle wear and tear like a champ? Then don’t rush the curing process! As concrete cures, it forms crystals that bind everything together. The longer you allow this to happen, the tougher your concrete will be.
Imagine your concrete is like a bodybuilder. Curing is its strength training routine. Skip too many workouts and it’ll be weak. Same goes for concrete!
Minimizing Cracking and Damage
We’ve all seen cracked, crumbling concrete. Not a pretty sight, is it? More often than not, improper curing is to blame.
You see, concrete shrinks a bit as it dries. If this happens too fast, the surface tenses up and cracks. But with proper curing, the concrete dries evenly inside and out to avoid this damage. It’s all about keeping the right moisture balance.
Influence on Aesthetics
Looks matter too! Proper curing helps prevent unsightly blemishes like:
- Scaling (surface flaking)
- Crazing (a network of fine cracks)
- Dusting (a chalky surface)
Trust us, it’s way easier to cure concrete correctly from the start than fix these issues later. An ounce of prevention is worth a pound of cure!
Methods of Concrete Curing
Now that you know why curing is vital, let’s explore some common methods:
Wet Curing
Just like it sounds, wet curing means keeping the concrete surface damp. You can do this by:
- Misting with a hose or sprinkler
- Covering with wet burlap or cotton mats
- Ponding (building temporary berms and filling with water)
- Slurry sealing (spraying a cement slurry on the surface)
Membrane Curing
Membrane curing involves applying a special liquid compound that seals in moisture. This can be done with:
- Curing compounds (usually sprayed on)
- Plastic sheeting
- Waterproof paper
- Specialized curing blankets
So which method is best? It depends! Factors like the weather, project size, and concrete mix all play a role. When in doubt, ask a pro like Boise Concrete Contractor.
Fogging
For some jobs, experts use fogging machines to mist concrete with tuned water droplets. This boosts humidity without washing away the cement paste. Cool, huh?
Timing in Concrete Curing
Like a good steak, timing is everything in concrete curing!
Initial Curing Period
Concrete goes through the bulk of curing in the first 24-48 hours. That’s when about 60% of the total hardening happens. So this stage is HUGELY important!
We always recommend starting the curing process right after pouring and leveling the concrete. A few hours can make a big difference.
Extended Curing Duration
Even after that initial period, concrete still needs moisture to fully strengthen over the next 28 days or so.
For standard concrete mixes, we usually recommend:
- 7 days for most flatwork (slabs, driveways, sidewalks)
- 1 month for concrete walls
- 3-6 months for high-strength mixes (over 6000 psi)
But every project is unique. Always follow the plans or check with your concrete contractor to get the curing schedule just right.
Curing in Different Weather Conditions
What if you’re pouring concrete on a blazing summer day or frigid winter night? Let’s consider some weather factors.
Hot Weather Challenges
Concrete curing is especially tricky in hot, dry weather. The heat can make concrete dry out way too fast, leading to cracking and shrinkage.
To avoid this, we may recommend:
- Working in the cooler morning hours
- Using cooling tubes in the concrete mix
- Setting up sunshades or wind barriers
- Choosing specialized mixes with slower curing properties
Cold Weather Challenges
On the flip side, cold temps slow down curing. If concrete freezes before gaining strength, it may never fully harden. Yikes!
In winter, we take steps like:
- Heating the area with portable heaters
- Using insulating blankets
- Adding accelerants to the mix
- Tenting off the pour site
Humidity Considerations
Extreme humidity (high or low) can also throw off concrete curing. Generally, 40-60% humidity is ideal.
In very humid areas, we may need to use dehumidifiers or vented tents. In arid climates, extra misting is key.
Best Practices for Proper Curing
With so many factors at play, how can you ensure great curing? Here are some pro tips:
Maintaining Moisture
The #1 rule – keep that concrete damp! Moist curing is the most effective method for porous concrete. Cover with burlap, blankets, or plastic and mist often.
For hard troweled surfaces, curing compounds can be easier. Just be sure to apply evenly and at the right time.
Temperature Control Techniques
Try to pour concrete when outside temps are 50-90°F (10-32°C) to avoid the extra challenges of heat or cold.
If that’s not possible, use smart techniques like:
- Shading in summer
- Tenting and heating in winter
- Adding thermal insulation
- Using cooling tubes or accelerants
Monitoring Curing Progress
It pays to be proactive with curing. We always recommend:
- Checking moisture levels daily
- Testing surface hardness over time
- Looking for signs of surface cracking, curling, flaking
- Measuring internal temp for mass concrete pours
Catch any issues early to minimize long-term problems!
Common Curing Mistakes to Avoid
We’ve seen way too many concrete curing fails over the years. Avoid these rookie moves:
Neglecting the Timing
Remember, those first 24-48 hours are CRITICAL. Don’t put off curing!
If water evaporates too quickly in this stage, you get weak, crack-prone concrete. No bueno.
Inadequate Moisture Management
Repeat after us: Moisture, moisture, moisture! Whether you’re misting, ponding, or using curing compounds, keep that concrete damp for the full curing period.
Letting concrete dry out is a recipe for disaster. Don’t do it!
Impact of Curing on Cost and Performance
We know what you’re thinking – is all this curing stuff really worth the hassle and cost? ABSOLUTELY. Here’s why:
Long-Term Cost Savings
Proper curing may add a bit to your initial budget, but it pays off big time in the long run.
Think about it – would you rather invest a little more upfront or pay for major repairs and replacements later? We vote for doing it right the first time!
Enhanced Structural Integrity
From homes and driveways to bridges and skyscrapers, we all depend on concrete to be as strong and stable as possible.
Cutting corners on curing puts structural integrity at risk. And that’s not just an eyesore – it’s a safety issue.
Conclusion
Phew! That was a crash course in concrete curing. We covered the what, why, and how of this crucial process.
As your go-to Boise concrete pros, we’re all about delivering the best results. And we know top-notch curing is key to that.
So don’t neglect your concrete’s TLC time! Whether you’re a DIYer or working with a contractor, make sure proper curing is part of the plan.
